How to plant Ornithogalum bulbs
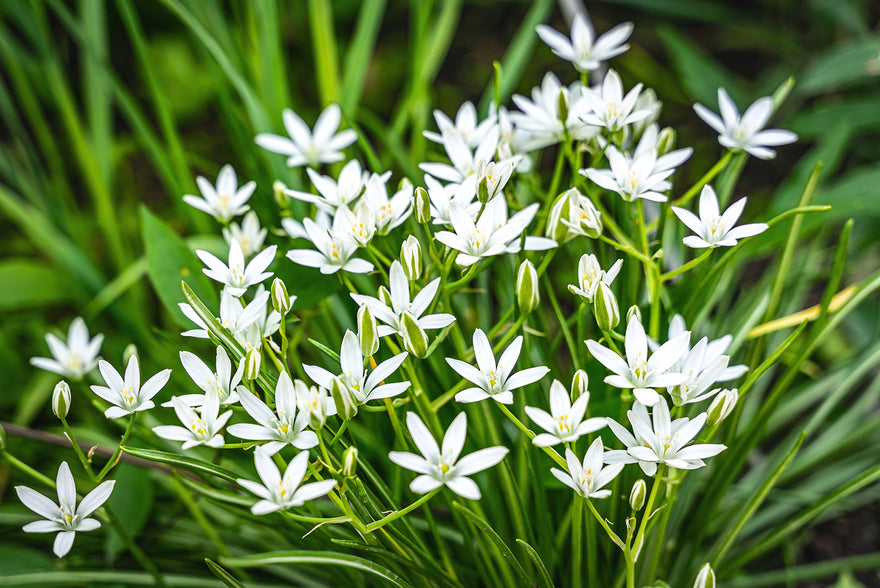
Ornithogalum are tender perennials and therefore should be kept away from frost. Whilst they can be planted in autumn or spring, it is necessary to plant them in the same season that they are supplied while still fresh and viable, they won’t store until the next season. When planting in autumn or spring, they can be started off in a cool greenhouse. Spring varieties can also be planted directly outside in early May. They will need winter protection in order to return the following year.
— Plant into pots with multipurpose compost between September and November (if supplied in autumn) or March and May (if supplied in Spring) and grow them on in a cool greenhouse or coldframe. They can be moved outside from May onwards.
— Plant 15cm deep in borders, patio containers or temporary pots (if intended to plant out later).
— When planting outdoors, choose a sheltered position in full sun with free-draining soil.
— Space the bulbs around 10-15cm apart from each other in borders or containers.
— Water-in after planting and continue to water regularly once you see the leaves appear or if the soil becomes very dry. Don’t allow the bulbs to sit in wet, cold conditions for long periods of time.
— Ornithogalum flower in late summer. Remove the stems after flowering, the leaves can remain intact until they die back in autumn. Move containers with Ornithogalum into a frost-free location for winter. Bulbs planted in borders should be lifted and stored in a frost-free place until the following spring. If you have sandy or free-draining soil, often the bulbs can survive winter outside in a mild winter.
Plant calendar
| Jan | Feb | Mar | Apr | May | June | July | Aug | Sep | Oct | Nov | Dec |
|---|---|---|---|---|---|---|---|---|---|---|---|
- Planting
- Flowering


